As per previous blog:
http://erwinxjs.blogspot.nl/2018/04/wheels-replacement.html
I have made a start this weekend. I had a long weekend due to the Dutch Kingsday on Friday. Which I spent to clean up the garage and some other small activities. Meaning Saturday I would have a couple of hours to tinker on the XJS. And of course I made a small photo reportage to capture the work for my own reference but also for any of the readers who might find this usefull.
Clean working space:
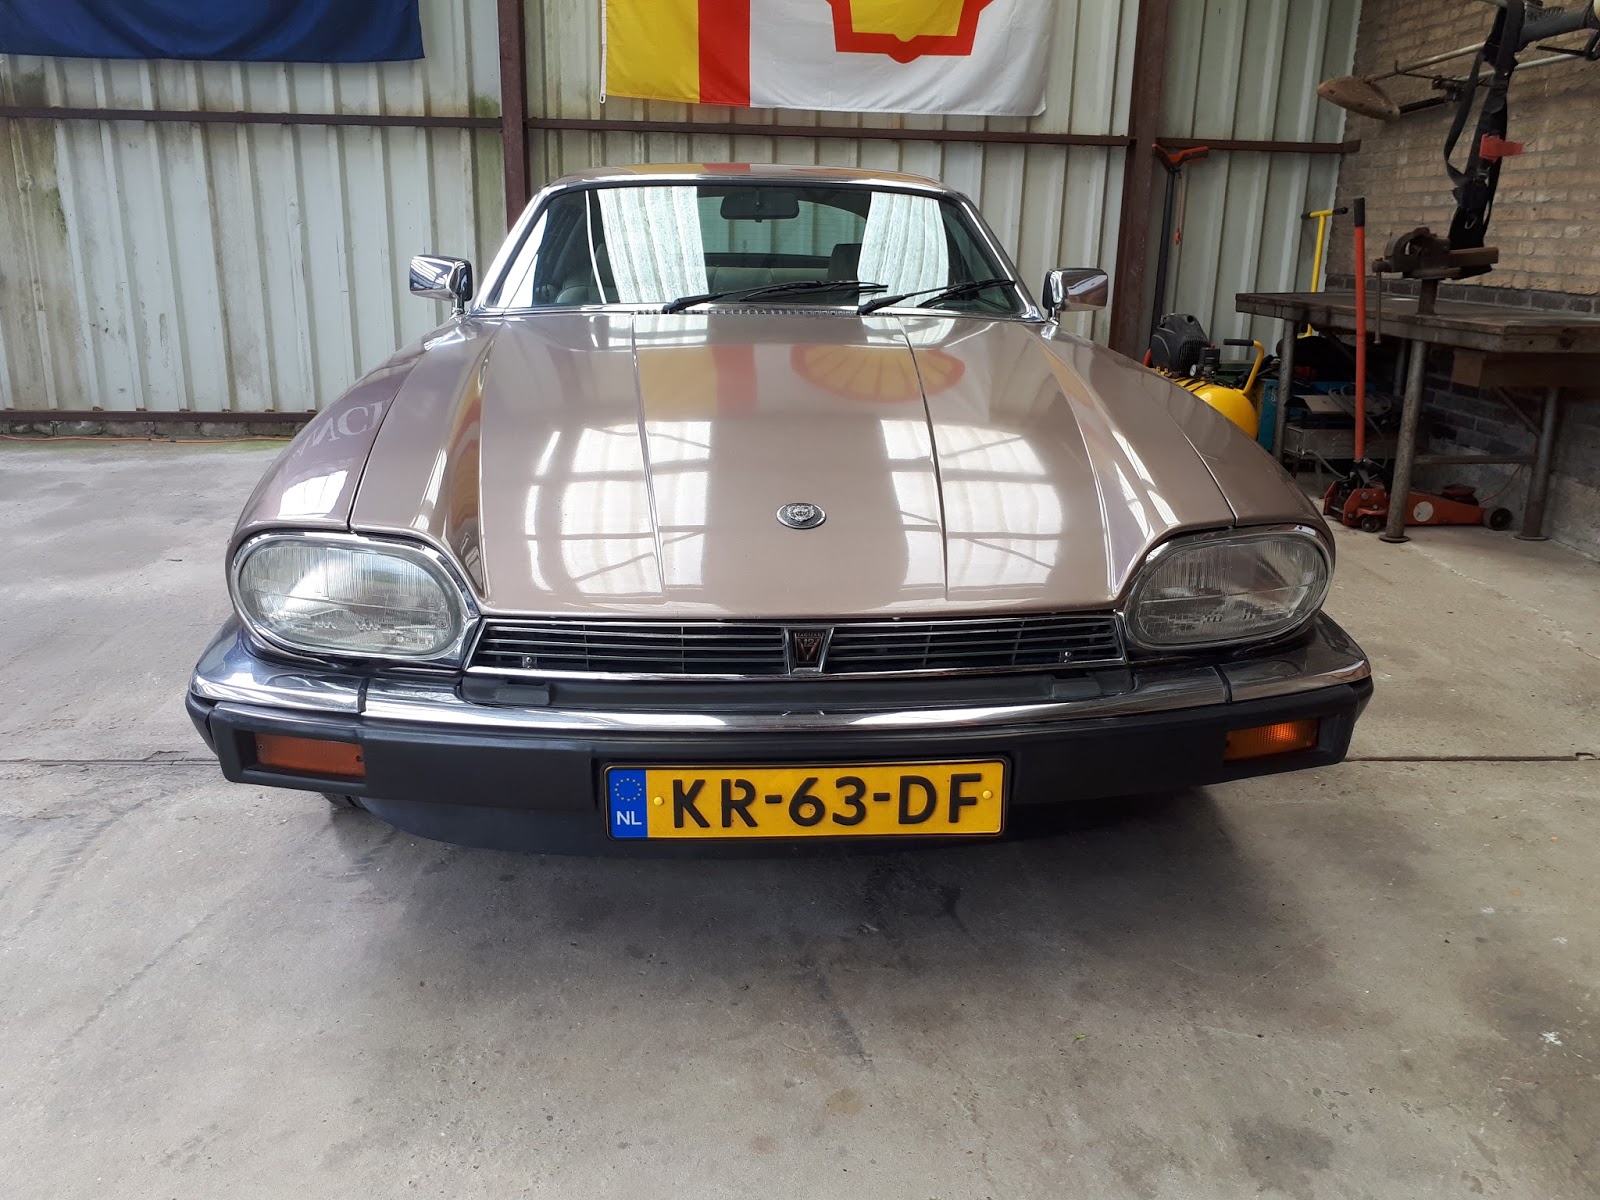
I started with taking off the front bumper.
Only two bolts required to remove, easy:
And removing both blinking light connectors:
Et voila:
Closer inspection showed the left blinking lightholder was deteriorated and rusted. Remarkbly it was still functioning though. The right side was almost new - I suspect they might have replaced that one.
Well, at least 1 item on my shopping list.
And there is also a unused connector which I guess is for the optional fog lights.
Next part I removed was the lower grille section, only 2 screws and presto:
Another item I can uplift and respray to make the car more tidy. I need to check but I suspect originally it was black.
And now it looks like this
It looks like one claxon did not survive. Wasn't aware it had two mounted. So another item for the shopping list.
Apparently it's made in France
I wonder how that failed, it seems like it's cracked and having rusted screws. Oh well.
Next item was to remove the upper grille, only a few screws:
Again an item that needs some good cleaning and polishing
Slowly the front becomes more open
Next part is removing the upper bumper
And the side bumpers
And an overview of the dismantled parts so far
The body really looks good, no damage and no rust underneath, I'm very happy with that
Next item is removing the bonnet.
The bonnet isolation material looks very poor. I wonder if this can be ordered new.
Here you can see the rusted radiator/cooling house
First remove the bonnet struts (these were already replaced, thus new and good, see blog:
http://erwinxjs.blogspot.nl/2016/09/new-bonnet-struts.html)
With the struts removed and the bonnet down, I easily could access the screws at the front since the grille was already removed
There was no one around to help but I managed to pick up the bonnet myself and store it nicely.
And now it looks like this. Everything is fairly accessible with these parts off.
You can see the rusty waterpiping and the aircopump. And the latter is the culprit for this exercise. But judging on the other belts and the looks of some other items it's good I tackle this now. It had to be done in any case.
I noticed 1 connector taped off, large red cirkel, which supposedly needs to be fitted to the connector in the little red marked cirkle. I need to look up the function of this connector. I wonder why it was done?
And then I found another connector taped off. But I couldn't locate where it could have possibly been fitted in??? So another one I need to look up.
I decided to leave the ignition coil, the photo is only for the wiring markings reference. The cabling has to be removed to take the upper mounting of the radiator.
Next part is to remove the hoses on top of the radiator (I suspect this is some kind of overflow canal?). I will have those 3 hoses replaced as well with new ones.
Not sure if this pipe can be newly obtained. Else I will respray it. It looks like it was originally black but I've seen photo's whereby it's gray.
Now it looks like this and we can remove the top cover from the radiator.
Next the mounting bar and condensor bottle got removed
And the condensor can be easily taken out
It's in an extremely poor state and it was my intention to get it replaced in any case. So another item on the shopping list.
And the final state for the day ending.
Next time around I will get the radiator out. Hopefully I will find some time next weekend. In any case everything went very smooth. No rusted screws or troublesome items encountered. I was happy to see all looked Original and complete. By the looks of it they have not much been messing around with the car in the past (apart from those 2 disconnected/taped connectors - since the Original owner was a Jaguar dealer they know what they have been doing).